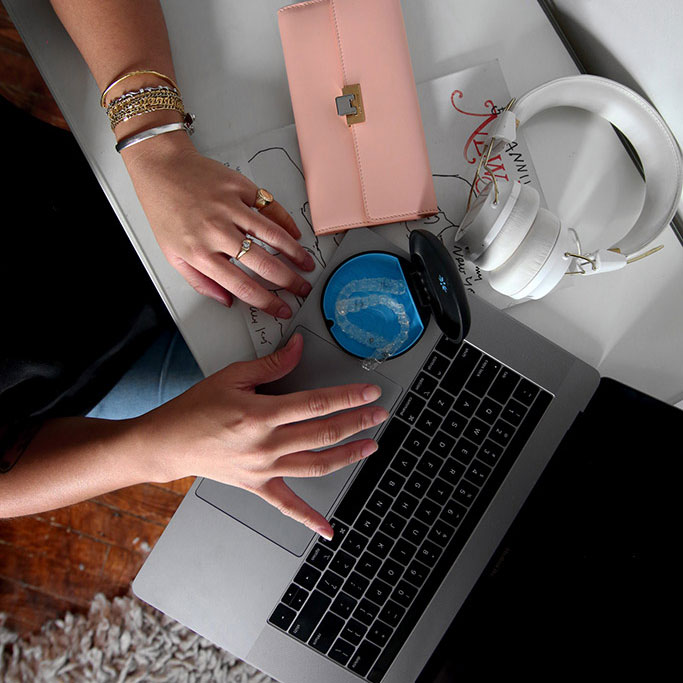
How To Take Beautiful Flatlay Images with Your iPhone
Here at Smarty, we’re suckers for a good flat lay. If executed properly, it can showcase a product in a crisp, clean, visually appealing way, while conveying a story at the same time. The best part? Creating a beautiful flat lay doesn’t have to be a major production — it can be pieced together with items you already have and captured with an iPhone you already use. Seriously.
Here are our tips for making it happen:
1. Props
Pull together eye-catching elements to add to your shot. Items that aren’t too large — like flowers, sunglasses, a hat, and coffee mug — are always a great bet. Your backdrop is just as important — pick something fresh and neutral, such as marble, light-wash wood/shiplap, etc.
2. Styling
Now it’s time to get creative! Play around with negative space or balance out your props so that you create something visually pleasing to the eye. Oftentimes, less is more!
“Oftentimes, less is more!”

3. Lighting
Whether you’re using your iPhone or a camera, lighting is key. The best light is what I like to call “open shade” — it’s bright, but not direct light, to help avoid unwanted shadows. For example, an umbrella set up to cast shade on a sunny day would be a good place to set up your shot. Rooms with tons of natural light are also a great option.
4. Shooting
Shoot your flat lay slightly farther away than what you want the end result to be. (You can ALWAYS crop it after.) Make sure your phone is as horizontal as possible and directly over your setup. This is usually pretty easy if your shot is set up on the floor; however, you may want to stand on a chair (safely) if your setup is on a countertop.
5. Editing
Crop as you’d like and edit by playing around with brightness and contrast. I like using the app A Color Story to fix up my images.


Can you be more specific about the content of your article? After reading it, I still have some doubts. Hope you can help me.
Thanks for sharing. I read many of your blog posts, cool, your blog is very good.